After the Email Migration: Outlook on OSX
Categories: Office 365
Like the Windows counterpart, updating to Office 365 when working with OSX machines is straightforward. The following guide will walk you through the steps both pre- and post-migration as your mailbox is migrated to O365.
Outlook 2011
Prior to the migration make sure Office 2011 is updated. To manually update Office, open up any of the Office programs and click on “Help > Check for Updates.”
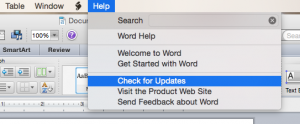 Click the “Check for Updates” and let it run then allow it to install any updates. After the updates have been ran and no more updates have been found, you should be good to go!

After the Exchange migration…
Open up Outlook 2011. You should be greeted with the following prompt:
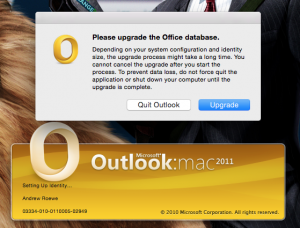
Click “Upgrade.” After a few minutes the window should pop open. You may get one of the following or both prompts, depending on your OSX settings.
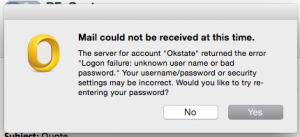
Click “Yes” and you should get a “login” box. Enter in your OKEY credentials and click “Okay.” Click ‘Allow’ to continue. You should now be greeted with the following.
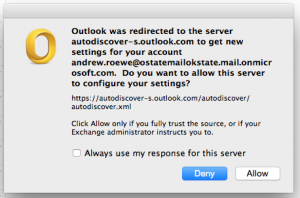
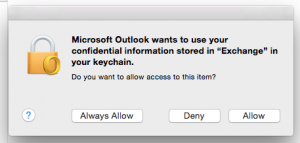
Clicking “Allow” will allow Outlook to configure itself with the new Office 365 settings. After that you should be good to go.
Outlook 2016
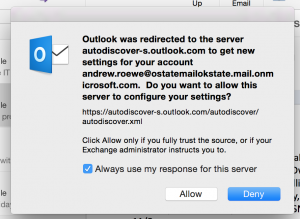
If you are one of the lucky ones and have moved to Office 2016, the process for 2016 is very straight forward. Just open up Outlook and you will be prompted with a similar message as the 2011 Outlook. Click “Allow” and enjoy.
If you have not been upgraded to Office 2016 and you would like to, contact your support specialist to arrange a time to upgrade.