Using the Accessibility Checker in Microsoft Office 365 Apps
Whether you are creating content for the public or making an internal document for review, making that content accessible is one of the best things you can do for its readability. Accessible documents are generally easier to read, plus you have the added advantage of creating content that most people, including those with disabilities, will be able to consume.
What are the guidelines for content accessibility?
There are a few different resources out there for guidelines and policies for accessibility.
Policies and Regulations
- OSU Policy – It is the policy of Oklahoma State University to ensure that university web pages are usable by people with disabilities.
- Federal Regulations – The Americans with Disabilities Act and Section 508 of the Rehabilitation Act requires public institutions, such as universities to have accessible web sites. It is interpreted to apply to the Internet as well as physical spaces.
Guidelines for Accessibility
Using the Accessibility Checker in Microsoft Office 365 Applications
Microsoft Office applications such as Word, Excel, and PowerPoint have built in tools to help you check the accessibility of your content. These tools are constantly running in the background and will tell you if something needs to be addressed.
Where are the tools?
There are three places you can look for the accessibility tools in your apps.
- In the bottom left corner of your application, you might notice an info pane that has the accessibility checker status information. If you are using Office 365 Online, this might not show.

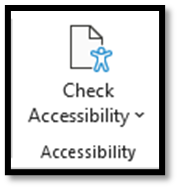
- In the tool ribbon located under the Review tab, there is a button that will allow you to check accessibility.
- If you click on File, then click on Info, there is an option to Check for Issues. You can check for accessibility there as well.

How do I fix any issues that the Accessibility Checker finds?
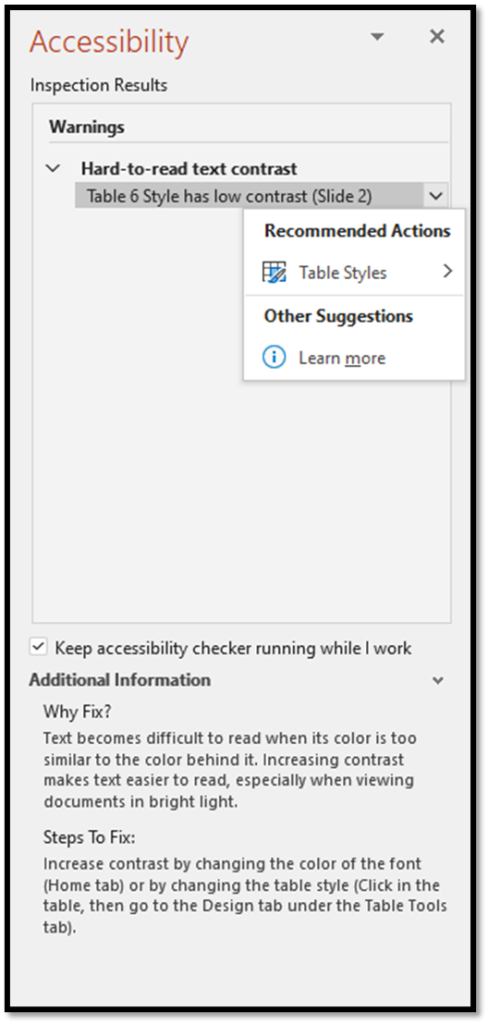
Once you open the Accessibility pane by selecting one of the options listed above, the checker will show you any issues it finds. From there, you can highlight or click the dropdown next to the issue and it will recommend available fixes for that specific issue. Notice that the Accessibility Checker will also tell you why an item might be an issue for someone that has a disability.
In Conclusion
When you export your documents to a PDF format, you will need to check and fix accessibility for those PDFs individually, as there may be some items that need attention, but using Microsoft’s built-in checker will minimize most of those issues in your PDFs.
Making your content and documents accessible extends your potential audience to the underserved in your communities. If you would like to know more about using Microsoft’s built-in Accessibility Checker, please refer to Microsoft’s Support pages. Feel free to contact your Computer Support Specialist as well.