Using a pump-up sprayer properly
Categories: Pesticide and fertilizer application
Last week I talked about controlling winter weeds. One of the most common reasons for weed control products to fail or for herbicide damage to occur is improper calibration; we simply don’t know how much product we are really applying. Hopefully, this will guide you through the process. Since we all learn differently, please contact me if you don’t understand these principles and I’ll have a go at it from another direction.
One concept is critical to grasp before we get started. There are two variables when it comes to knowing how much to apply, the amount of pesticide product rate and the amount of water used to deliver the pesticide. We call the delivery water the carrier or carrier rate and that is our primary concern today.
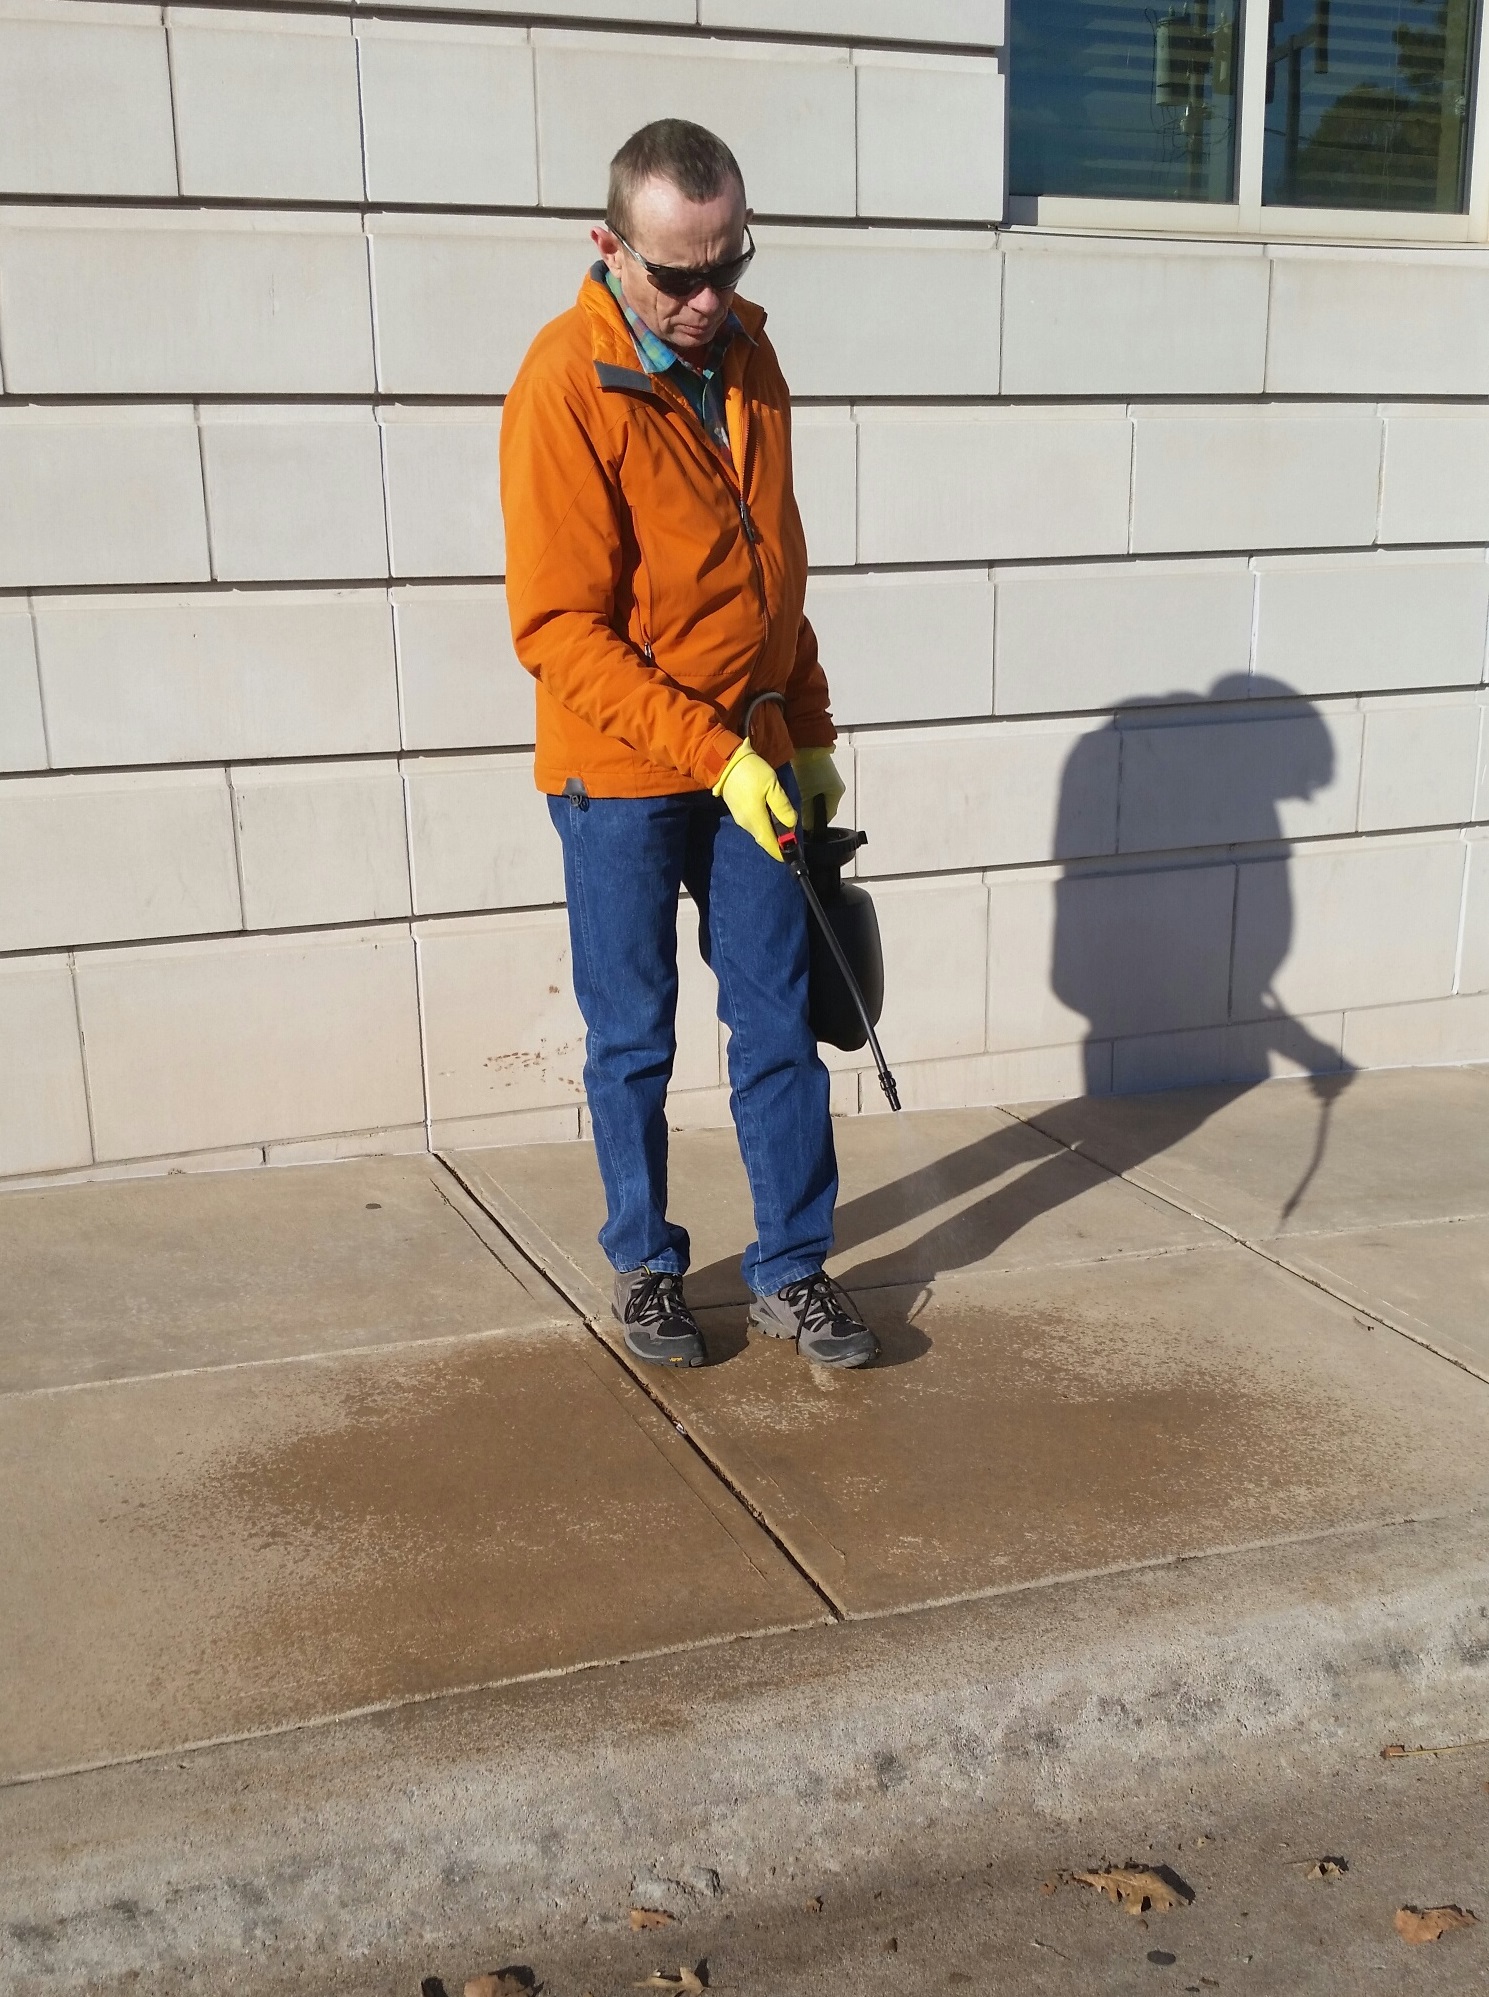
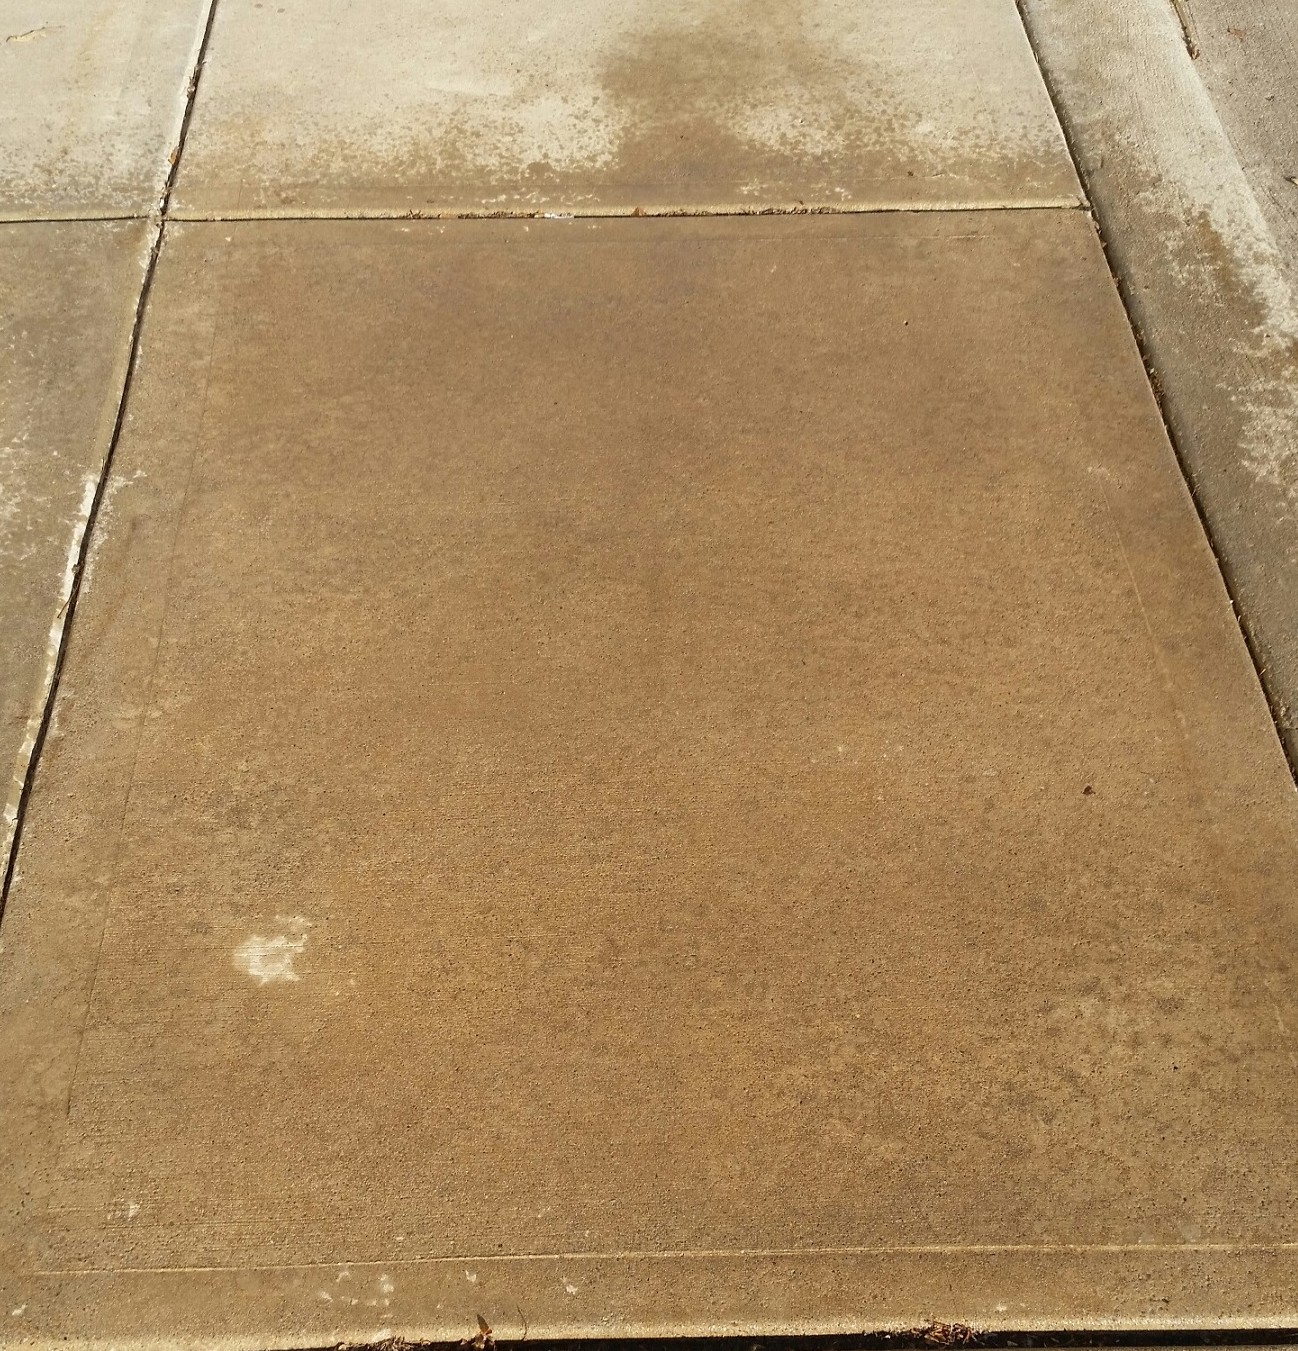
Begin with a good sprayer filled with clean water and a hard surface. I like concrete if it’s available but asphalt will also work. Play with the pressure and nozzle adjustment until you get a good consistent pattern that you can comfortably repeat.
This looks pretty good at first glance
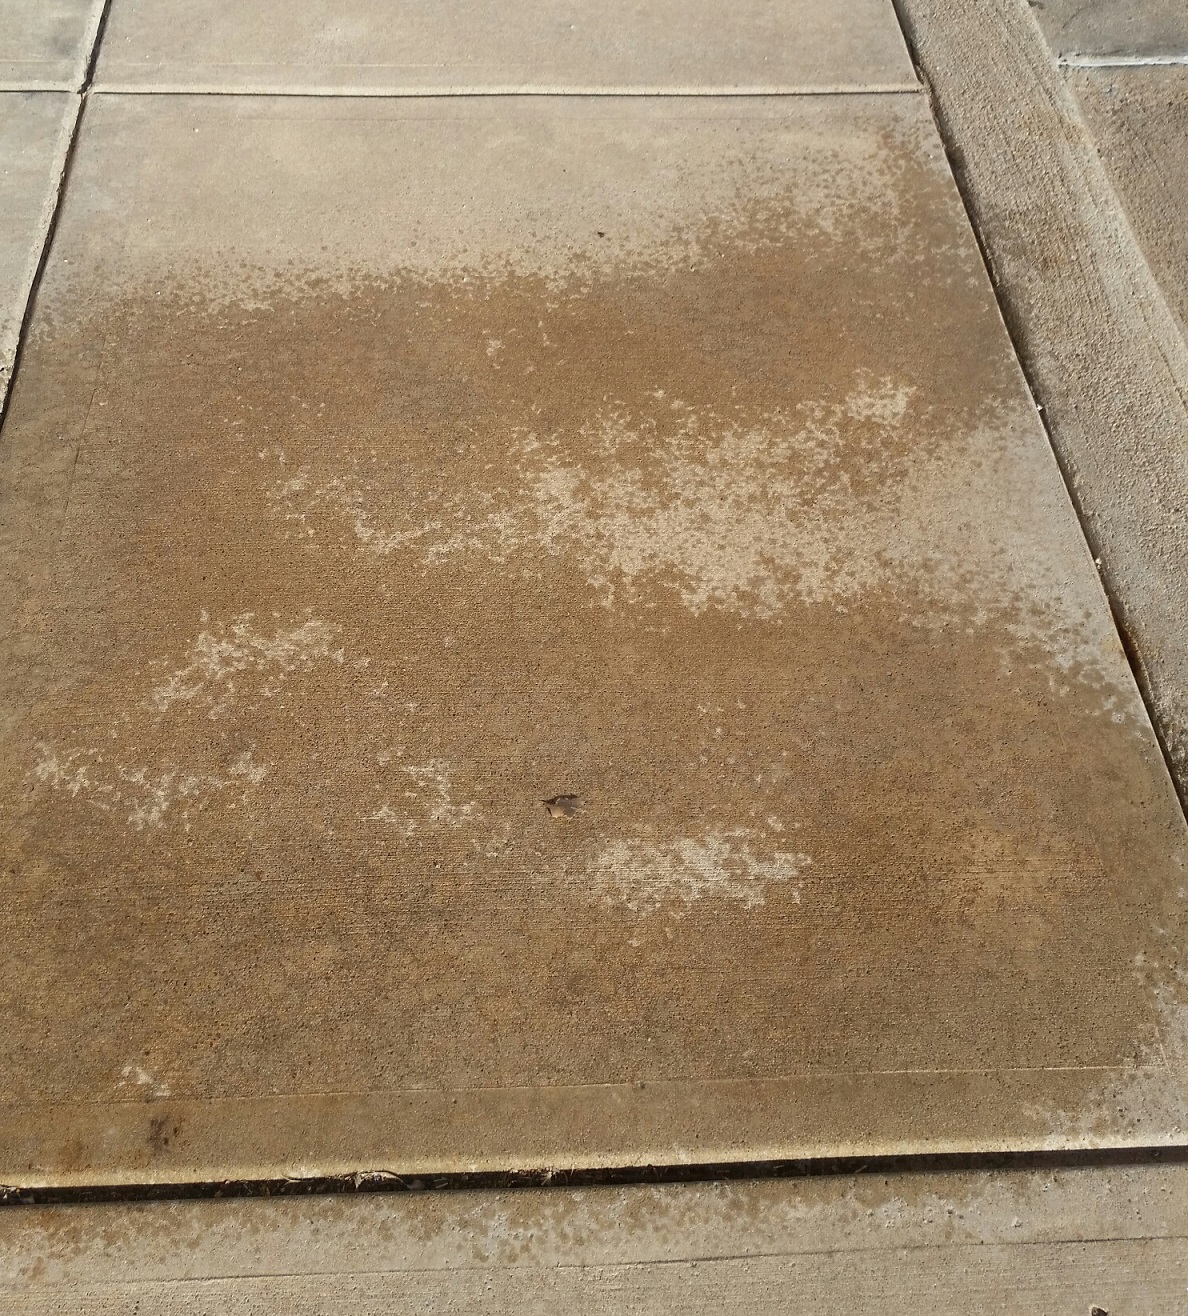
Here’s the value of doing this exercise on a concrete surface. As the water dries, you’ll begin to see inconsistencies
Two problems here. Not enough overlap and nozzle set to “stream”, not “spray”
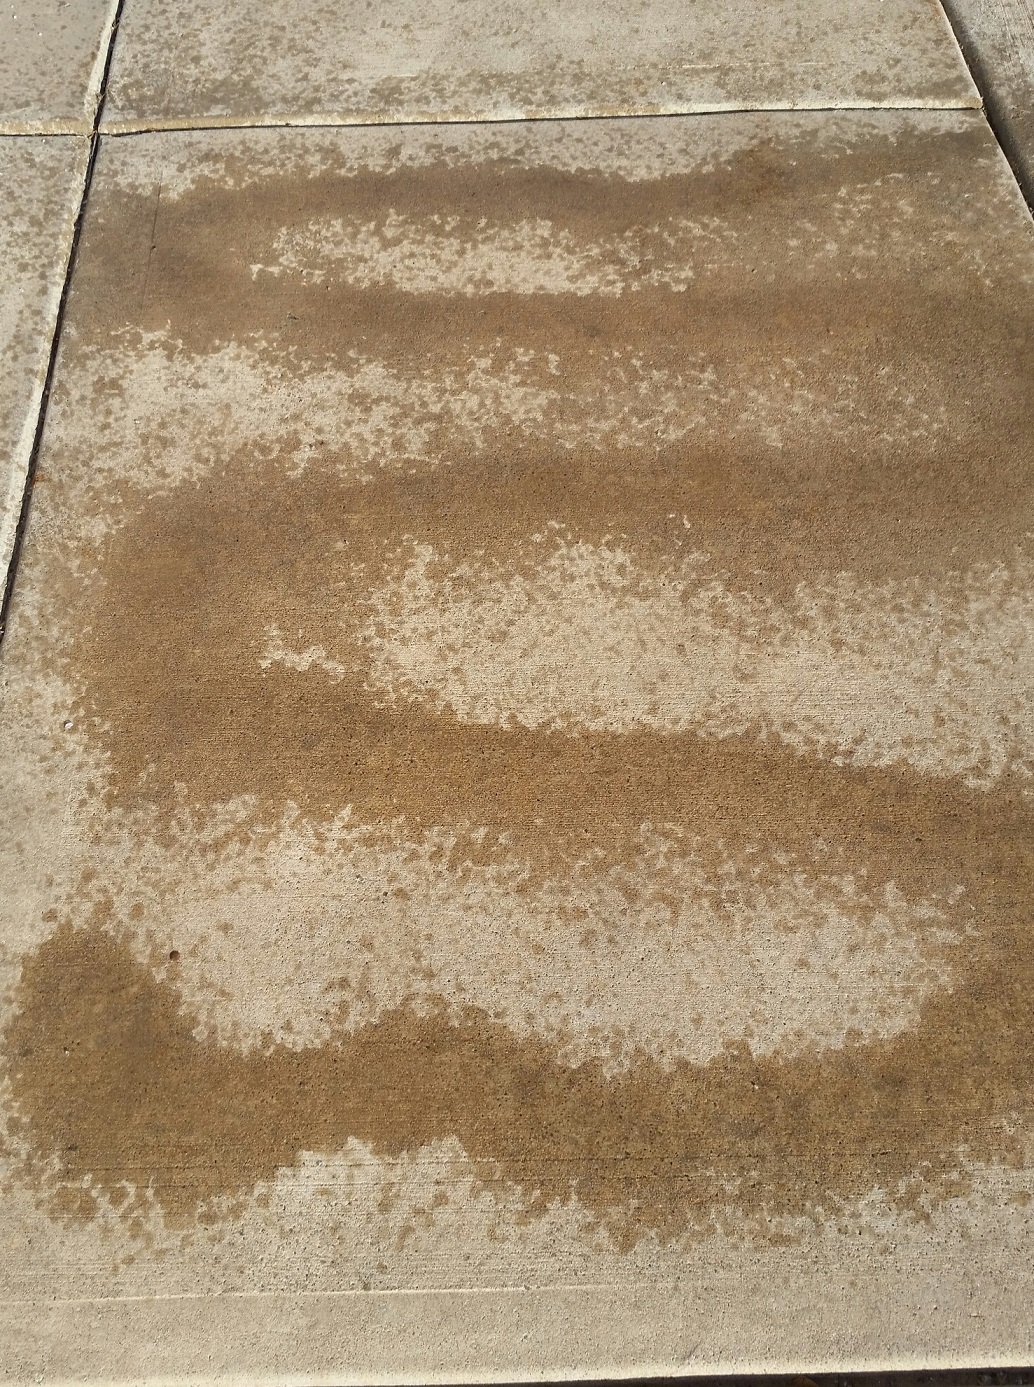
Too much carrier. You can see the runoff beginning
The next photograph is the one that most concerns me in this series. Not only will the applicator not be happy with the weed control, he risks damaging adjacent plant materials from drift. Careless applications like this using broadleaf weed control products can cause significant damage as the herbicide can easily travel for long distances when conditions are not suitable for spraying.
Several issues here. Nozzle is too far above the ground, pressure is too high and the nozzle is adjusted to “fine” creating mist
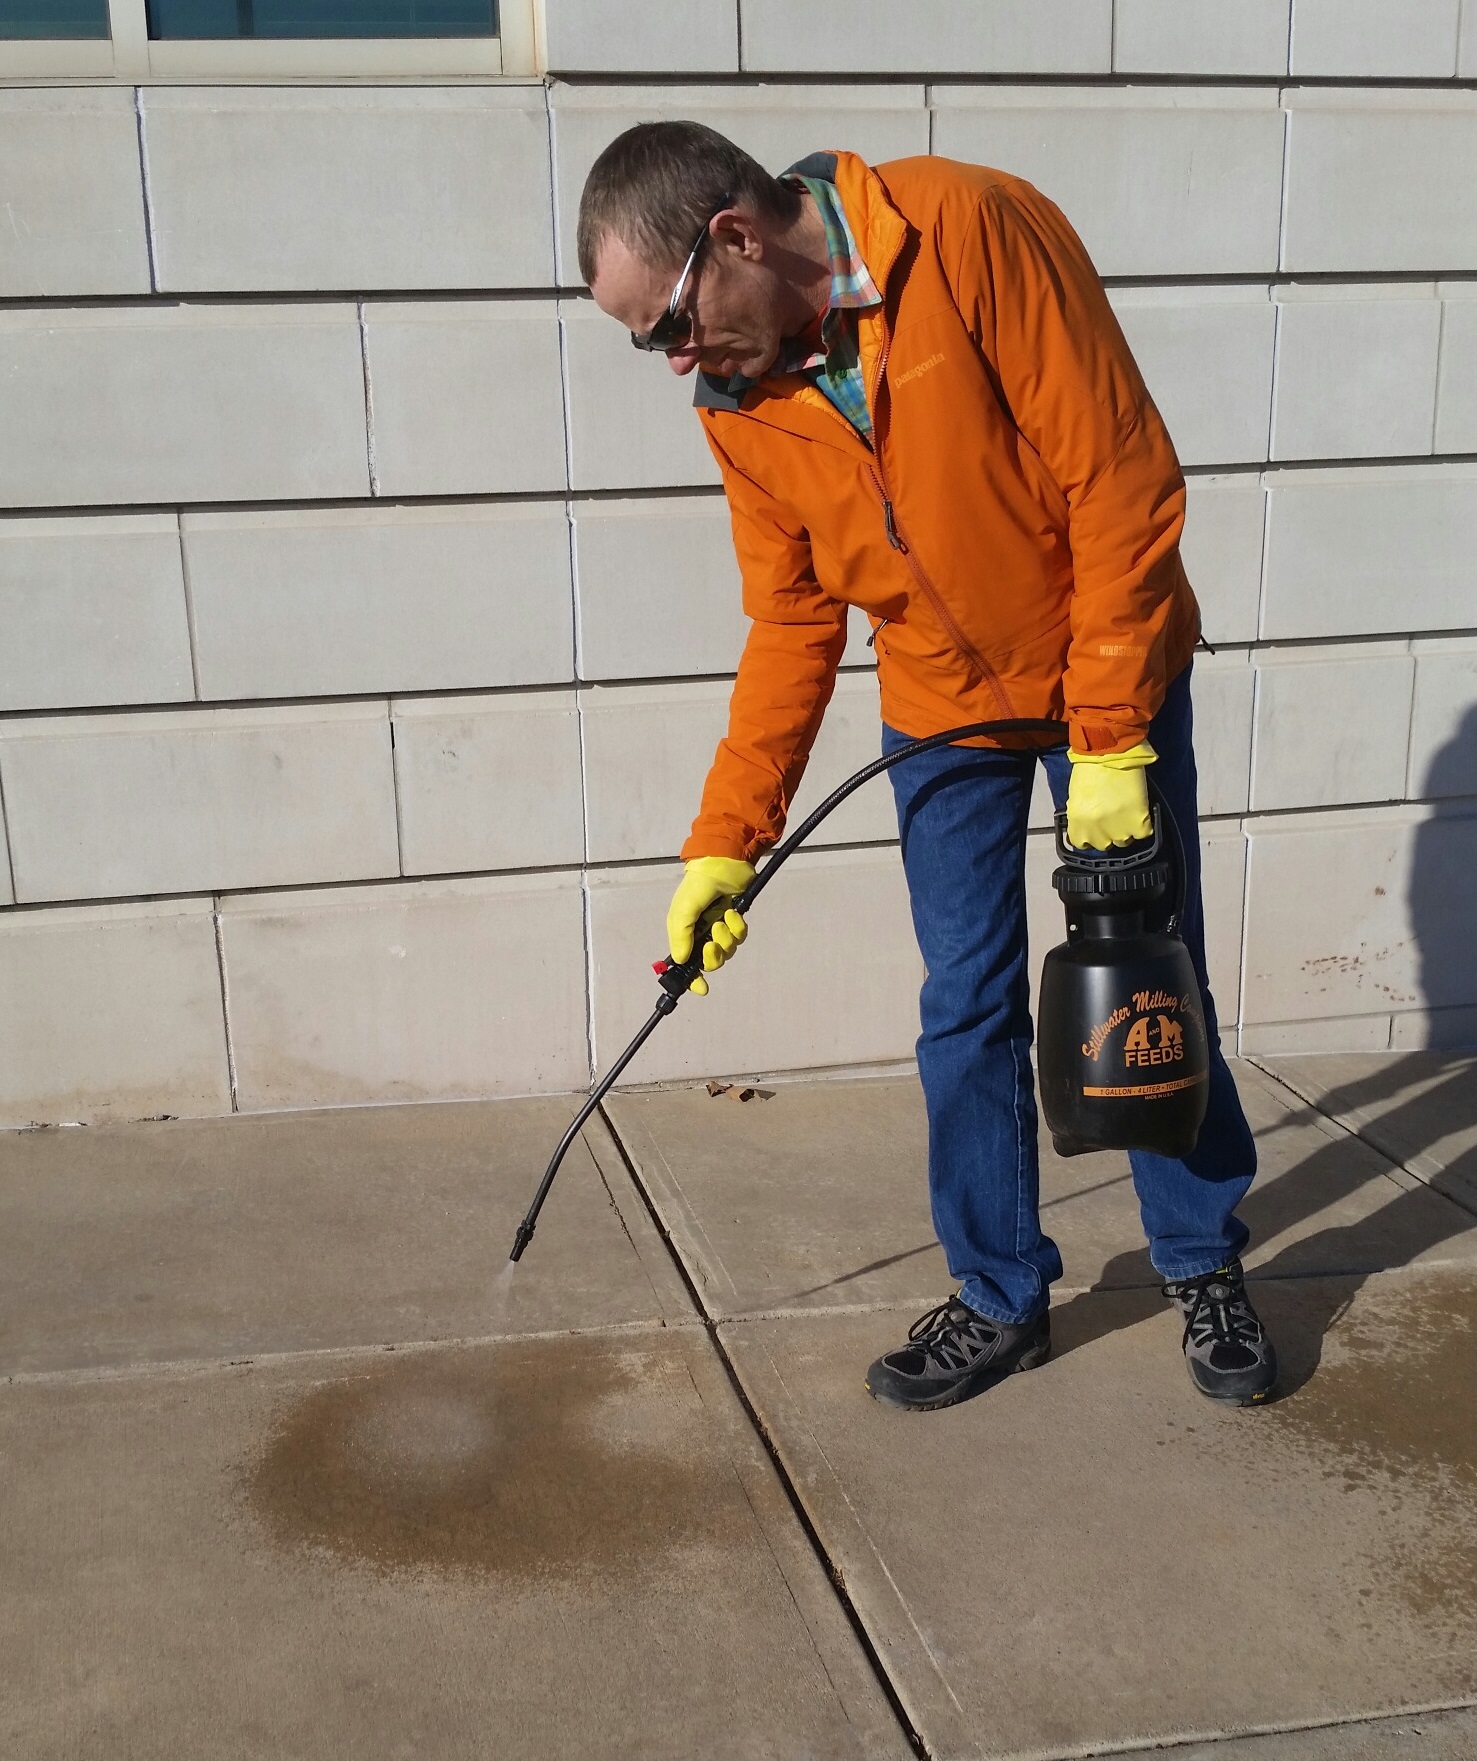
Finally, this should be your goal. Nice even coverage but not excessive. It’s not perfect, but this is an easily attainable goal with a little bit of practice. This was done with a sweeping motion, closing the wand just briefly at the end of each “sweep” so there is not over-spray at the edges. Also, each pass overlaps the last just a bit to even things out on the edges of the pattern.
This should be your goal. Nice even coverage without runoff or large skips
Once you’ve got the spraying down to your satisfaction, it’s time to calibrate. Mark of a given surface area-I suggest 100 square feet because it’s large enough to be representative and it makes the math simple, and see how much water it takes to cover. You can do this by timing yourself and then spraying into a measuring container for the same length of time (IMPORTANT: NOT SOMETHING FROM THE KITCHEN). Or, you can begin with a known quantity of water in the spray, make the test run, and then measure what is left.
This gives you your carrier rate. The majority of homeowner herbicide application directions give rates in “ounces per 1000 sq ft” so you’ll need to make sure you make the proper conversion based on your test area size.
For the purposes of our discussion, let’s say we learned our sprayer is putting out 200 ounces per 1000 square foot. Since there are 128 ounces in a gallon, that’s 1.56 gallons. We can safely round that to 1.5 gallons per 1000. Now that you know your carrier rate, you are prepared to add your herbicide based on the label directions. Our label tells us to apply .75 to 1.5 ounces per 1000. Rates are almost always expressed as a range with the lower rates being acceptable when the weeds are small and more easily controlled. Going with our low rate, that means we need to add .5 ounce per gallon of water (.75 ounces per 1000/1.5 gallons per 1000).
There are several ways to tackle the math. As I said at the top, for some folks it can seem a bit confusing until you get the concepts down. Two closing points….keep good records so you don’t need to repeat this every time you spray. And also, as I said at the top, let me know if this does not make sense to you and I’ll take another crack at it from a different direction!
Leave a Reply